A cheese…?
The planks for the Sutton Hoo ship are manufactured by splitting a round log into sectors, usually 8 or 16 depending on the log diameter. These roughly triangular section planks are then converted into rectangular section planks, resulting in a significant number of offcuts similar to the one in the picture below. (I think there’s a video on the SHSC website that shows this process).

The pointy end is roughly where the centre of the tree was, and the wide end is the outside of the tree. Since it resembles a wedge of cheese cut from a round whole, or maybe just a triangle of Dairylea, I refer to them as cheeses. I suspect there is a more correct technical term out there somewhere, but they are a good size for turning into a bowl, as shown later in the following sequence.
But first lets talk about tools.
My lathe is a Record Power CL2. It’s fairly simple, with 3 speeds and a maximum swing over the bed of 12 inches. It just works. I use a Nova chuck with associated screw-chuck accessory for initial mounting, and most of the time the ‘large’ jaw set.
The principle tools are shown in the following photograph.
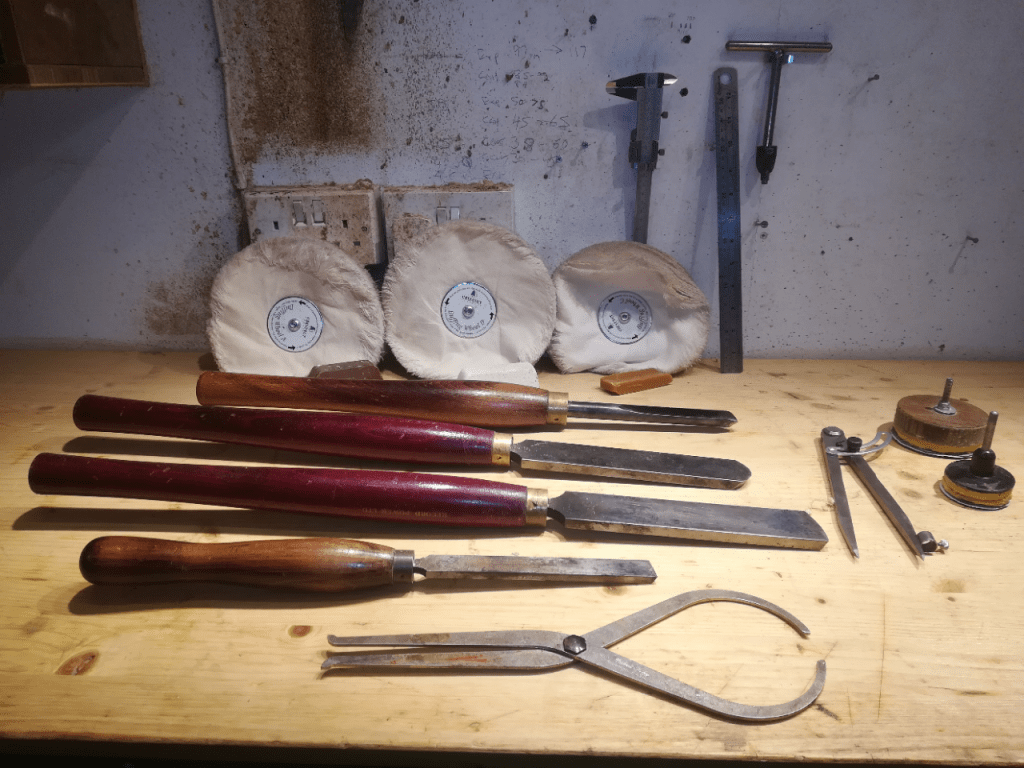
In anti-clockwise order:
- The 3 buffing wheels at the back are a polishing set made by Chestnut wood finishes.
- Below these is a 5/8″ bowl gouge which is used for the overall shaping.
- Then comes 2 heavy duty scrapers which take care of the internal and external fine shaping respectively.
- The small scraper is ground with a flat edge at an angle of about 80 degrees. It has one job, which is to form the corner of the bowl ‘foot’ as described below.
- The calipers are used to monitor the bowl wall thickness.
- The pair of compasses are used to mark-out the basic bowl size.
- Two sanding discs are shown – 2″ and 3″. I have stamps which enable appropriate discs to be cut from sanding sheets.
- At the back is a vernier gauge, a ruler and the chuck-key.
Making the bowl
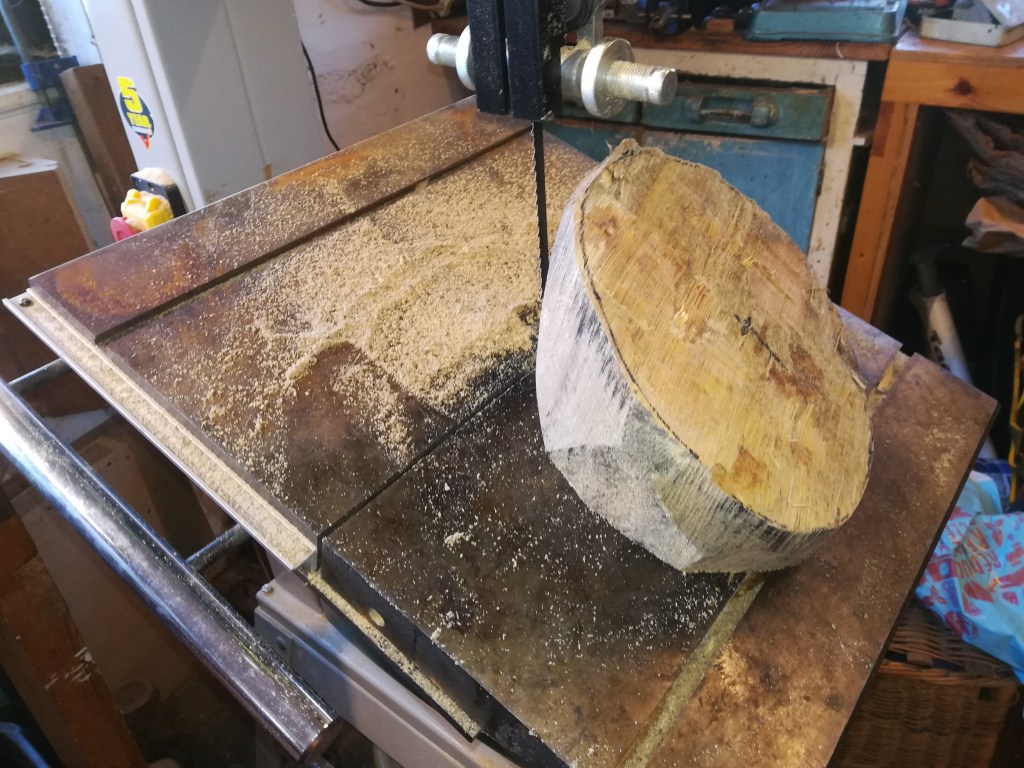
First, a circular blank for the bowl is cut using a bandsaw.
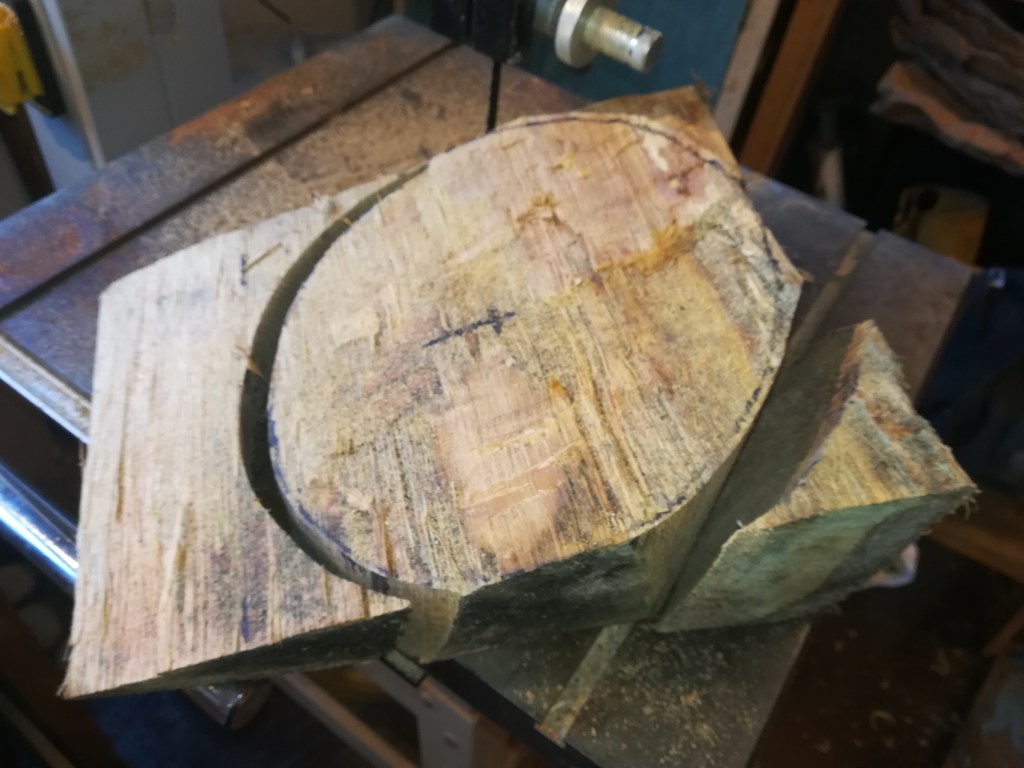
The offcuts can be used to make small objects such as keyrings or pens, or if that’s not possible they find their way into the wood burner at a later date. The bowl blank is very unbalanced at this stage, so some further trimming helps:
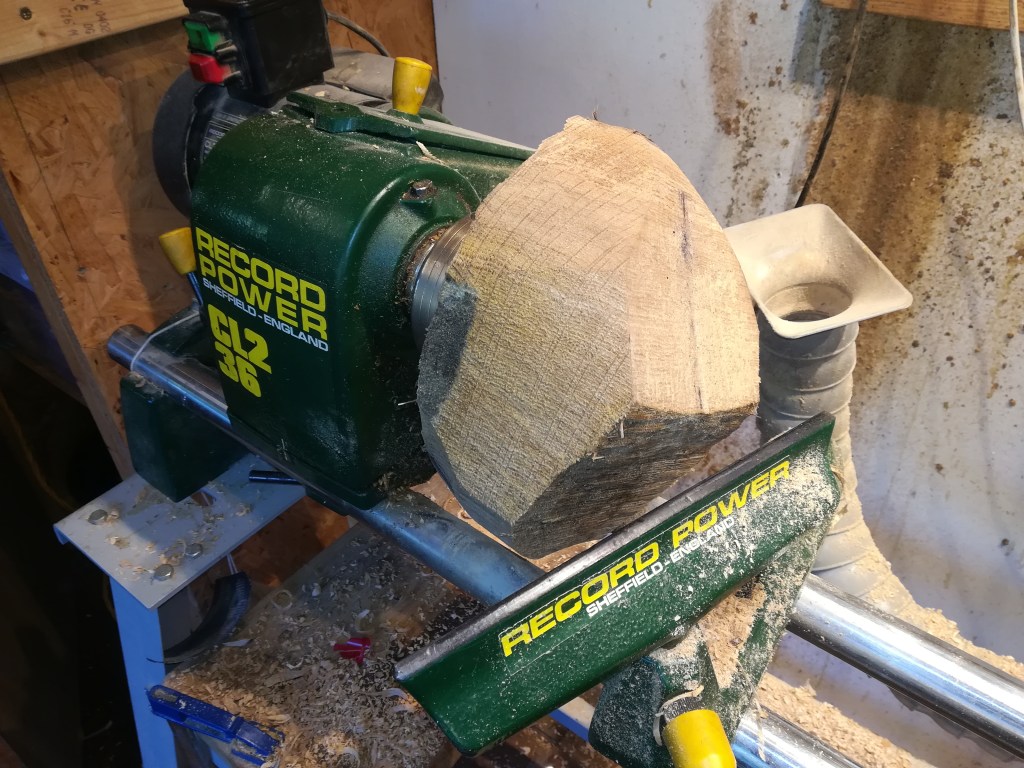
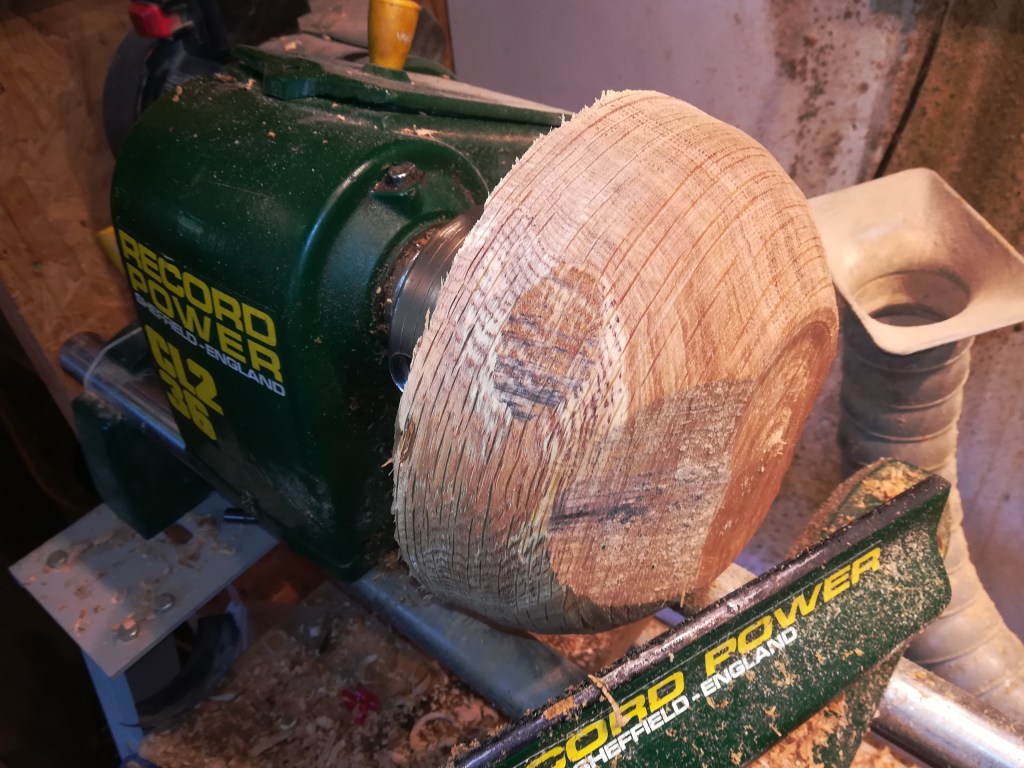
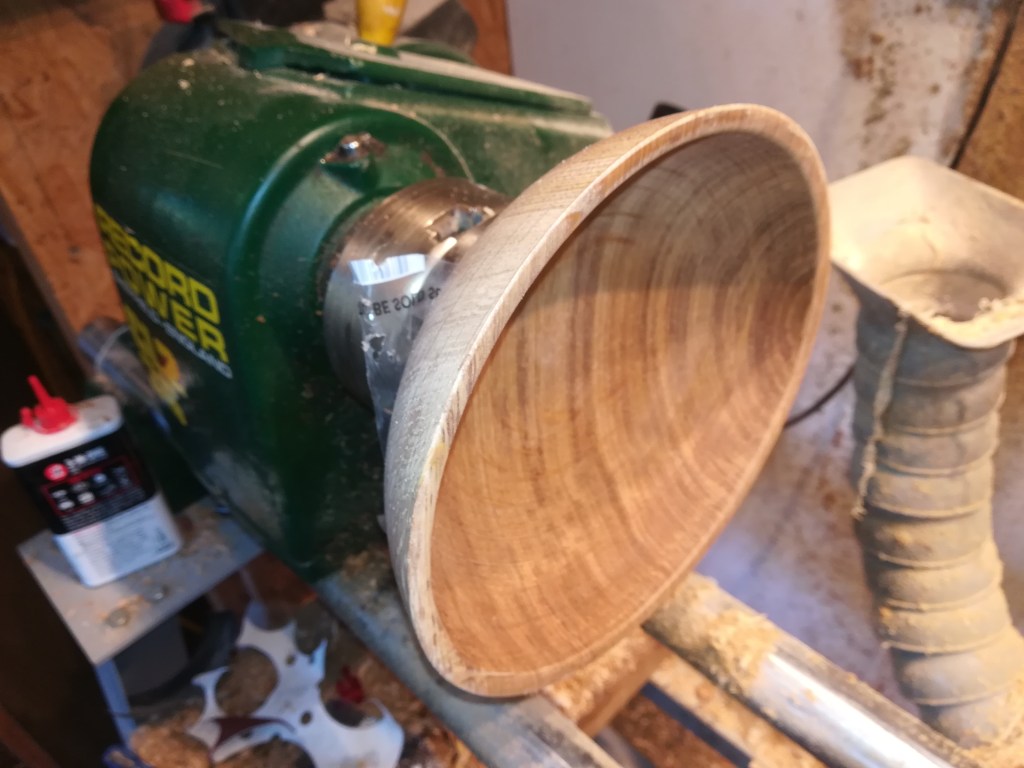
After that it can be mounted on the lathe using a screw-chuck. Some initial shaping has already been carried out in the picture below.
Continuing the process starts to produce something a little ‘bowl-like’….
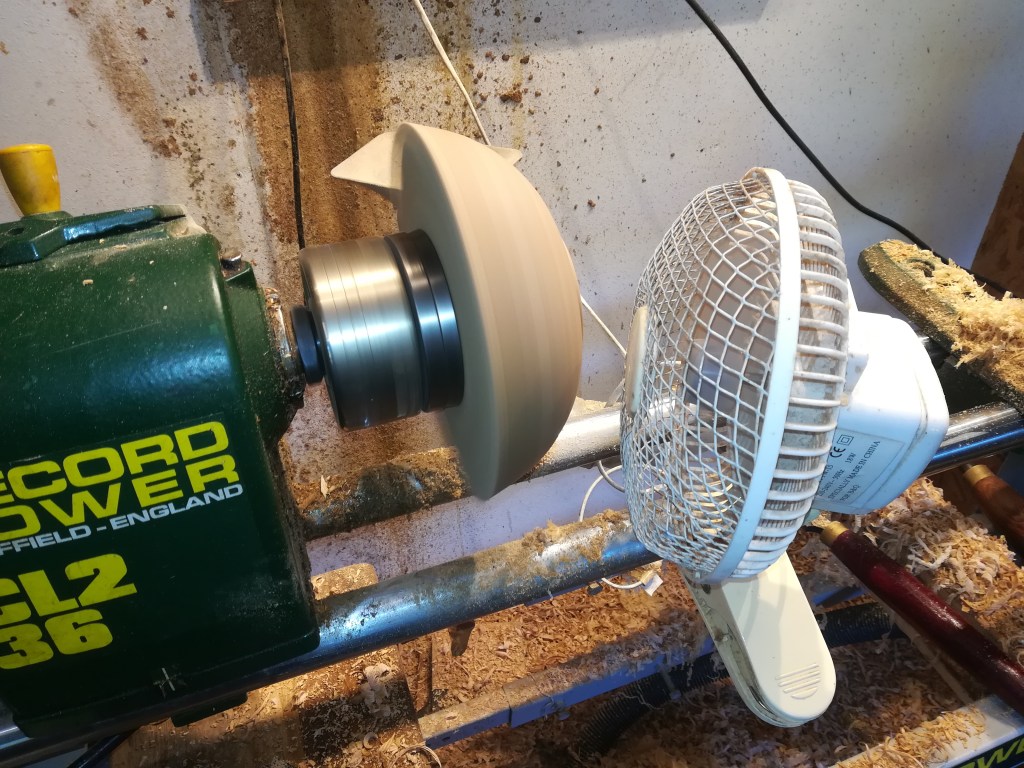
… and a ‘foot’ is created to make a base for the bowl to stand on. The foot also provides a firm mount for the chuck to grip when the inside of the bowl is turned.

Some initial smoothing using sanding mesh has been done, but since the wood is still full of sap, it’s very wet and clogging is quite a big problem. I sometimes try to dry the surface a little by putting it in front of a fan while I enjoy a short tea-break.
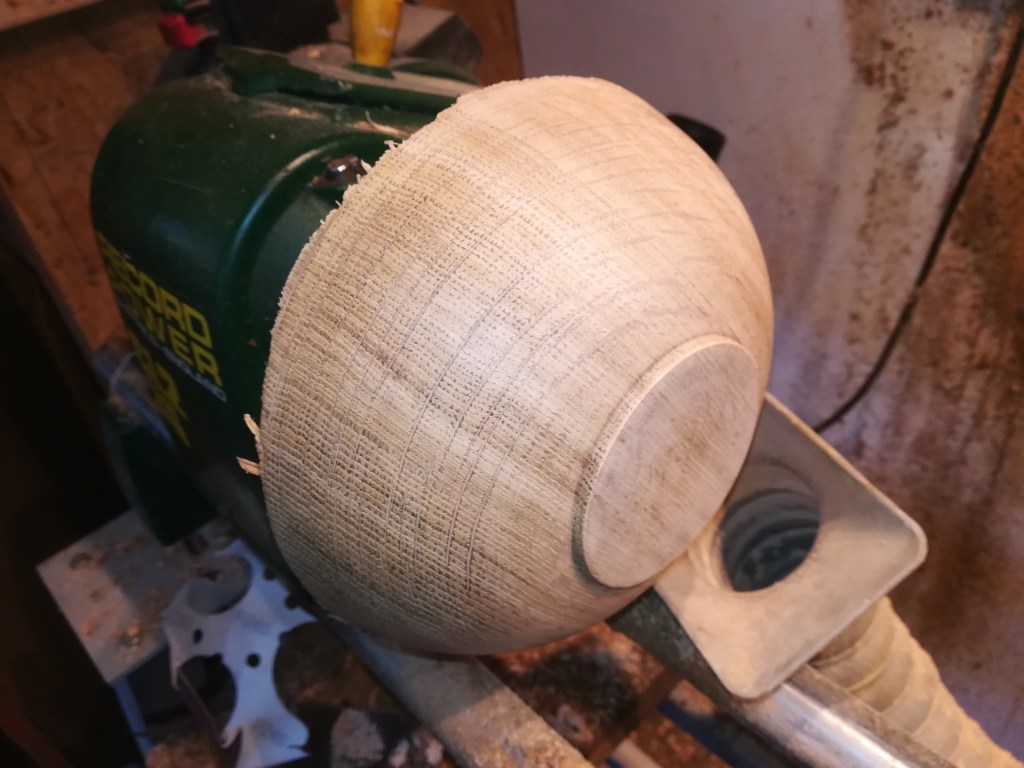
After 20 minutes or so I can eventually sand it using an abrasive disk in a power drill while the lathe is running – usually 120 grit followed by 240 grit at this stage. Eventually the outside is done:
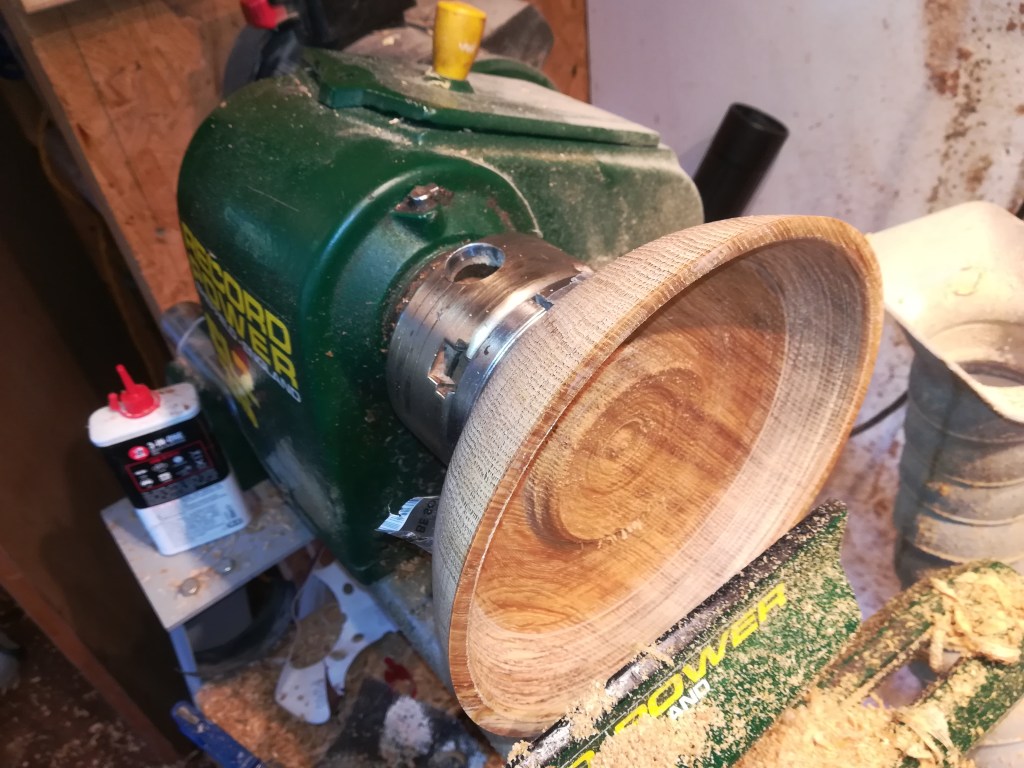
I can now reverse the bowl so the foot is gripped by the chuck. A small sheet of polythene is used to stop the wet oak coming into direct contact with the steel chuck jaws. This prevents iron stains.

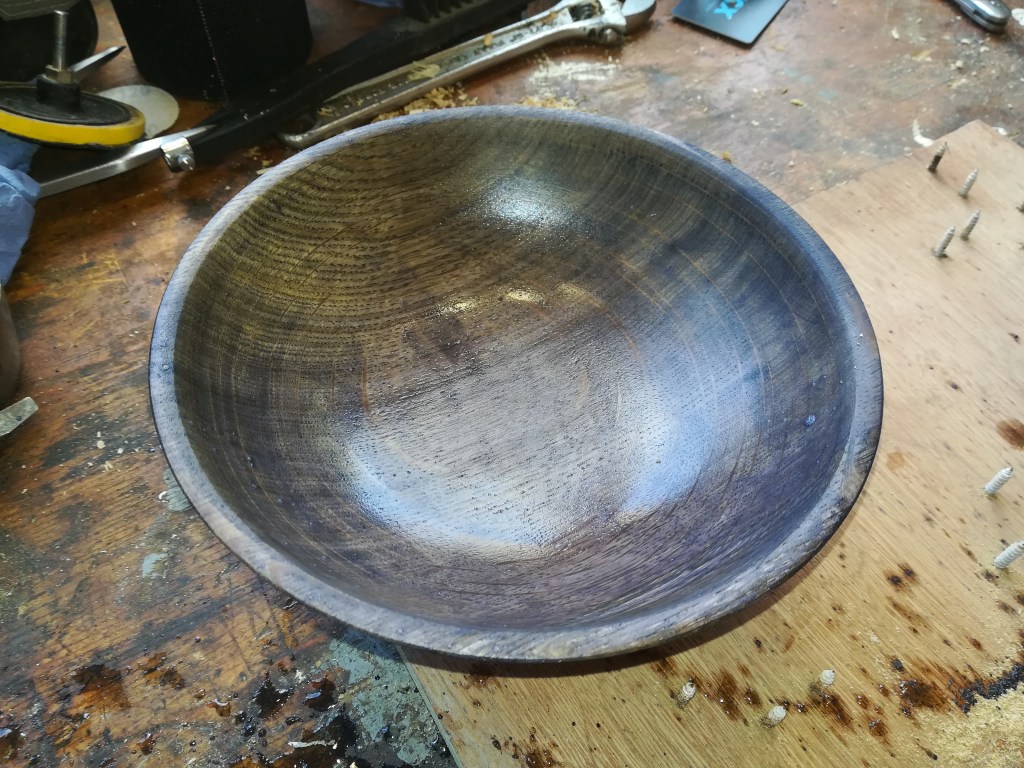
After this it’s a relatively simple job to use a gouge to hollow out the inside of the bowl. The detailed shaping is performed using a scraper to obtain a uniform wall thickness. This is done in stages to avoid putting too much pressure on the wall, which can result in chattering marks or, in an extreme case, the wall splitting. The white liquid on the inside bowl wall is sap from the still wet wood.
Eventually the inside is shaped fully:
… and sanded after it’s dried a bit.

So now the bowl can have it’s final finish added. Usually these days I apply a coat of sanding-sealer, followed by a good buffing and a coat of carnuba or microcrystaline wax for a tough finish. If the wood is very wet I will let it have a few days to dry a little first, possibly followed by a light sanding.
Going blue
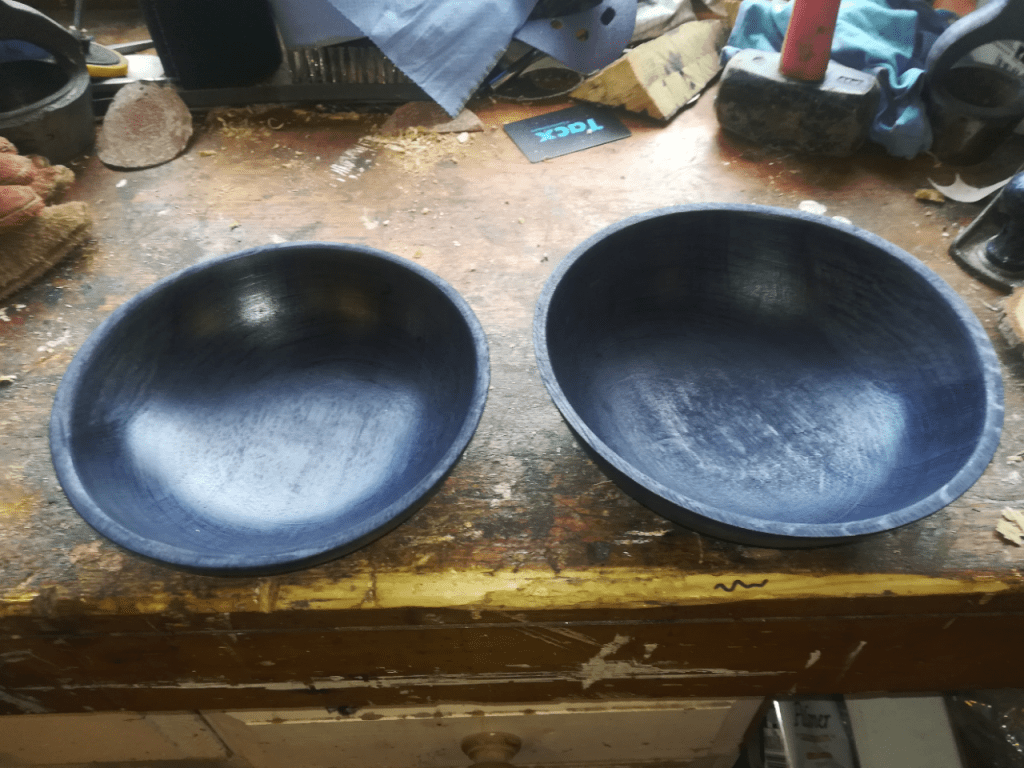
However, this time I thought I’d try colouring it first using iron acetate. This is a simple solution made by soaking steel wool, or any type of iron, in vinegar (acetic acid) for a few days. The solution itself doesn’t turn blue, but it deserves enough iron into the vinegar to facilitate applying it to the wood. I did this with a paint brush, and left it on my bed-of-nails for the chemical reaction to take place ( it’s a reaction between the iron and the tanin in the wood sap). It doesn’t look very promising at this stage, but it darkens over a period of about an hour.
So the colour settled down to a slightly blotchy dark blue after the first application. I sanded it back a little after a couple of days when it was dry and gave it a second application. It settled down to a matt dark blue colour (it’s the one on the right below).
The final steps were to give it a very light sanding using a scouring pad, followed by a good coat of sanding sealer. This was then buffed to a shine and given a coat of carnauba wax.
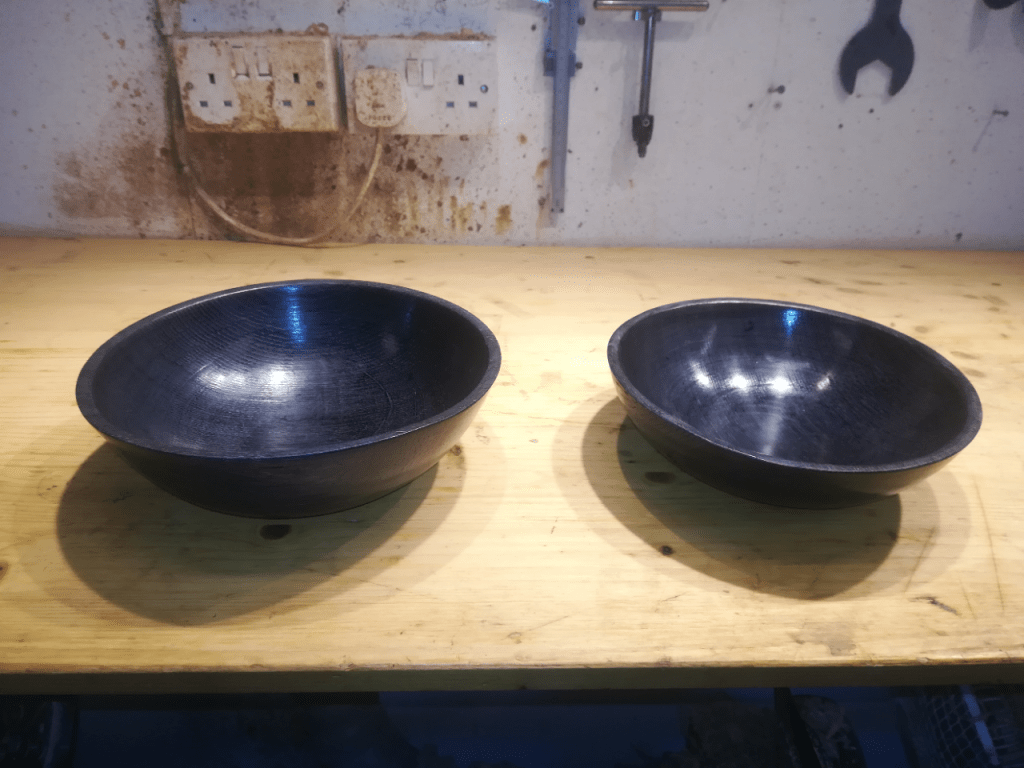
I think I like the result. I wonder if the Anglo-Saxons ever coloured wood this way?
